Step 3 - Add The VPN Profile To AnyConnect
Add the VPN profile to AnyConnect
***If you do not have AnyConnect installed, please contact the IT Helpdesk***
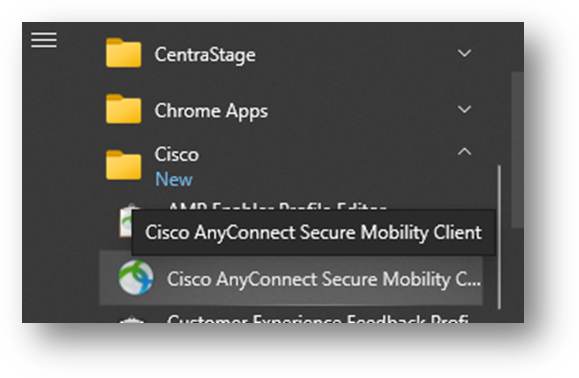
- Click on the start menu, browse to the Cisco folder, and open Cisco AnyConnect Secure Mobility Client:
2.Highlight and delete the existing VPN entry: 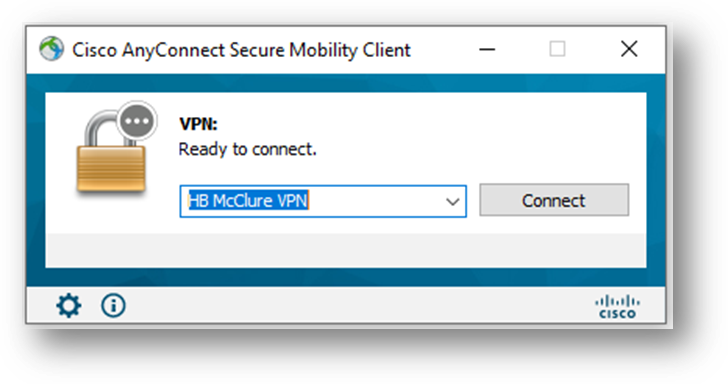
- Enter the corresponding VPN hostname for your division:
Division name Hostname
BBEC hb-mcclure-wired-zkgtwjhbtp.dynamic-m.com
HBHS Harrisburg/MD: hb-mcclure-wired-zkgtwjhbtp.dynamic-m.com
HBHS Harleysville: it-landes-dvpnchvrtp.dynamic-m.com
HB McClure/HB Global: hb-mcclure-wired-zkgtwjhbtp.dynamic-m.com
IT Landes: it-landes-dvpnchvrtp.dynamic-m.com
Nash PM: npm-wildwood-office-tvcrmttctp.dynamic-m.com
Nash PM Belleview: remote-vpn-z1-mwdtpkrktp.dynamic-m.com
NSMC: nsmc-rjvvcmqktp.dynamic-m.com
Spectrum: spectrum-az-ptgmnbzttp.dynamic-m.com
The Bell Company the-bell-company-wired-njjhtmzmtp.dynamic-m.com
WR Nash: nash-hq-wired-bqdrjqhttp.dynamic-m.com
NEW NASH PM BELLEVIEW: remote-vpn-z1-mwdtpkrktp.dynamic-m.com
4. Login to the VPN with your RSA userid (typically first initial last name).
- ***If your email is firstname.lastname then use that for userid).
- ***Use PIN as password.
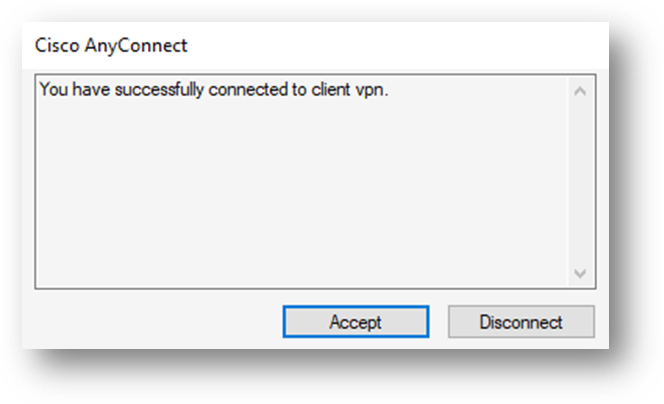
5. Be sure to accept the push notification to your RSA app and then click “Accept” on the VPN connection banner window:
6. After connecting to the new VPN your entry will be saved for the next time.